This article explains how one can upgrade a SQL Server Express Edition installation to a SQL Server Standard Edition.
Preparation Instructions
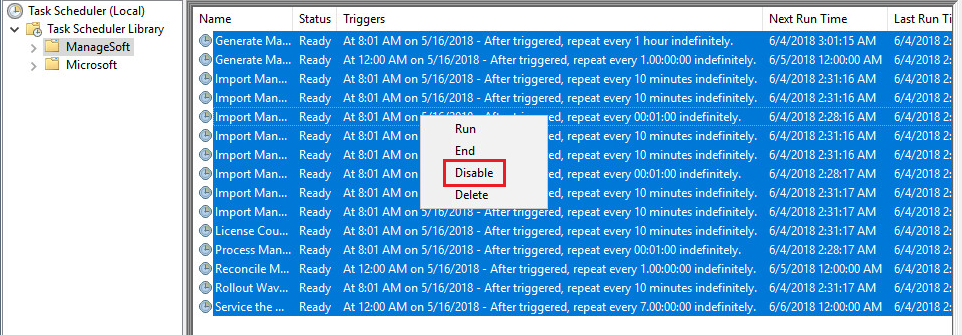
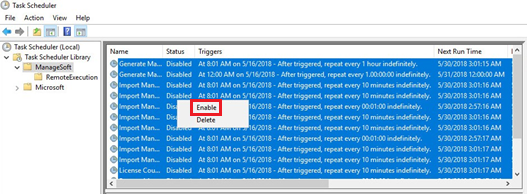
1) Take note of all enabled scheduled tasks within the ManageSoft and RemoteExecution folders and then disable them:

2) Stop the World Wide Web Publishing Service. In case of using a FTP Server, you need to stop your STP Services:

3) Backup the RayVentory database (default name = ManageSoft):

Upgrade
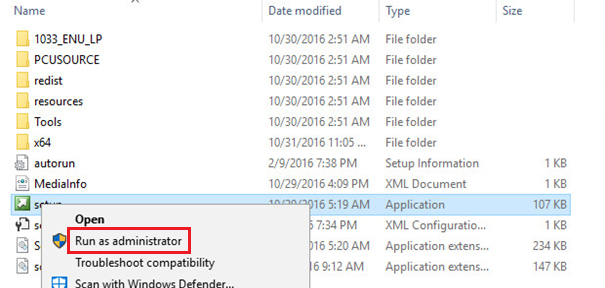
1) Run the setup from the SQL Server Installation media as Administrator:
2) Go to the Maintenace section within the SQL Server Installation Center wizard:

3) Select the Edition Upgrade option:

4) Enter your SQL Server Standard product key:

5) Accept the license agreement:

6) Specify the instance of the SQL Server (default instance name = SQLEXPRESS):

7) Review the summary and then initiate the upgrade process:

8) Once the upgrade has completed, close the wizard (one can also review the log file beforehand:

Verification
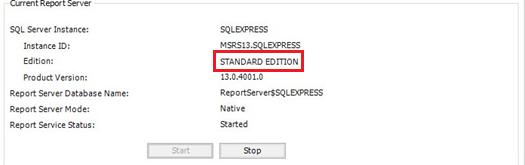
1) Access the Reporting Services Configuration Manager, and confirm that you are able to connect and that the Standard Edition is displayed:

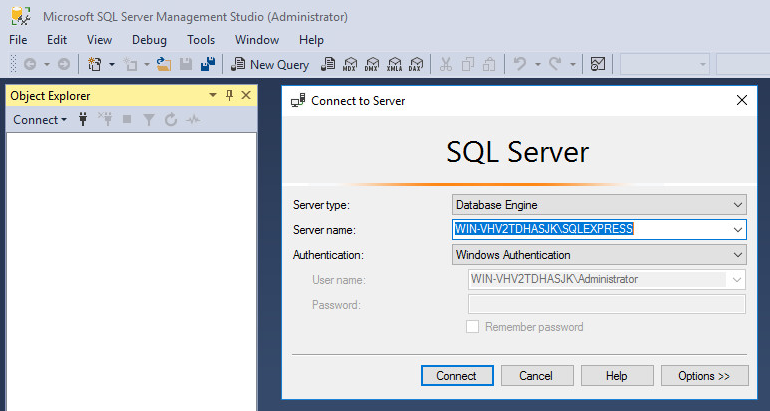
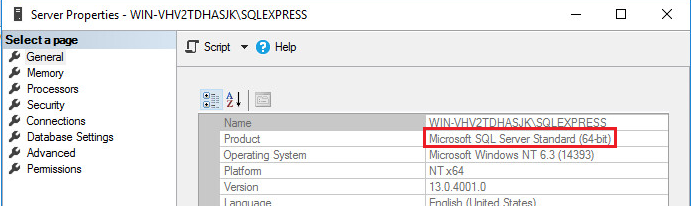
2) Access the Microsoft SQL Server Management Studio, and confirm that you can connect to the server, and that its properties display the Standard Edition:

3) Lastly, confirm that the RayVentory console opens successfully:

Final Step
1) Review your notes and then enable all scheduled tasks within the ManageSoft and RemoteExecution folders that were recorded as being enabled beforehand:
2) Start the WWWPS service:

Comments